Simple Moist Chocolate Muffin Recipe with Cocoa Powder
I’ve worked with every type of cocoa—natural, Dutch-processed, even the fancy-pants specialty blends—but when it comes to truly impressive chocolate muffins with cocoa powder, there’s one cocoa that simply outshines them all. Seriously, my pantry looks like a cocoa powder sample library because I had to get it right!
After countless experiments, adjusting ingredients, and getting back and forth on what to share, I discovered this absolute winner. Once you try it? There’s no going back. I’m sharing the secret to create irresistibly moist chocolatey muffins with cocoa powder that deliver maximum flavor, aroma, and texture every single time. Done!
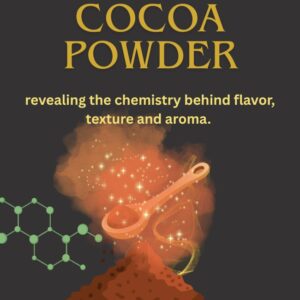
Cocoa Compounds and Their Impact on Muffin Flavor, Texture, and Aroma :
This, my friends, is why I can’t stop baking chocolate. It’s not just a color or a simple flavor; it’s a whole experience.
The Secret Life of Chocolate Muffins: Why They’re the BEST
I’ve been in that moment, staring at a cocoa-dusted kitchen counter, trying to figure out why some chocolate baked goods are just… blah. You know what? It all comes down to the cocoa powder’s deep, dark secrets.
Do I hear rich, decadent muffins calling your name?? Done! I’m going to spill the tea on how we get that truly SINFULLY DECADENT chocolate flavor and that magically soft and moist texture.
Flavor: A Symphony of Chemistry.
When you smell that warm, inviting scent wafting from the oven? That’s not an accident. That’s hundreds of volatile compounds working their magic.
My favorite little flavor-booster? Epicatechin! It’s one of those beautiful little molecules in cocoa that not only deepens the chocolate flavor but somehow manages to play perfectly with the sugar, giving you a balanced, never-too-sweet bite. It’s the secret to getting that perfect BITTERSWEET profile.
Then we have the rock stars of the roasty, nutty smell: Pyrazines and Aldehydes. These are the flavor precursors, essentially, that only get released during the high heat of baking via the Maillard reactions. Without them, you just have a brown cake; with them, you have a deep, complex, ROASTY chocolate experience.
Texture: The Unsung Heroes
I admit, I’m a texture nerd. A crumb-whisperer, if you will. I want my muffins TENDER but still satisfyingly COHESIVE. Here’s the trick:
It’s all about the Residual Fats. We’re talking about the tiny bits of cocoa butter and fiber left in your powder. They act like internal lubricants and emulsifiers! They physically prevent the baked muffin from drying out, which is how we get that gorgeously MOIST crumb. I’ve had more than a few disasters where I skimped on the fat or used a low-quality cocoa, and trust me, it’s not pretty. The right cocoa guarantees that perfect, velvety texture. Excellent emergency muffins!
And for a little pick-me-up? Theobromine and Caffeine. They contribute a subtle bitterness that boosts the perception of richness, and let’s be honest, they add a little mood-lifting aroma. It’s the perfect subtle kick that makes you want a second (or third!) muffin.
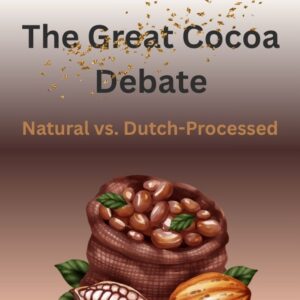
The Great Cocoa Debate: Natural vs. Dutch-Processed :
I have two secret weapons in my pantry, but if you could peek inside my head, you’d know which one gets the gold medal every time. It comes down to what I call the “chocolate feeling.”
The Winner: Natural Cocoa Powder.
I’m predictable, I know, but I simply love the Natural Cocoa Powder. Why? Because it delivers real, uncompromising chocolate flavor.
Flavor: For me, this is the BEST. It’s got that wonderful, complex, slightly TANGY and FRUITY bite, almost like eating a pure cacao nib. It feels alive on your tongue. It’s the flavor of real dark chocolate, not just “chocolate-flavored.” I’ve had countless muffins made with this, and they always make people ask, “What is in this? It tastes so… CHOCOLATEY!”
Texture & Rise: This is where the magic happens! Natural cocoa is naturally acidic. That acidity is a complete game-changer because it reacts violently (in the best way!) with good old baking soda. That reaction gives you a phenomenal burst of gas, which results in a glorious, HIGH LIFT and that perfect, slightly DOMED TOP. You end up with a beautifully soft, tender, and incredibly light crumb. My favorite personal anecdote? The first time I switched back to natural after a long run with Dutch, the muffins rose so dramatically I actually thought I had over-filled the tins!
The Runner-Up: Dutch-Processed Cocoa
Now, don’t get me wrong. I have room in my heart (and my pantry) for Dutch-Processed cocoa, too. It makes a beautiful, reliable muffin.
Flavor: it’s the flavor everyone thinks of when they picture a classic chocolate cake. It’s smooth, muted, and slightly TOASTED, but let’s be honest—it lacks that raw intensity of the natural stuff. It’s a fantastic, comforting flavor, but it’s just NOT as complex.
Texture & Rise: Dutch cocoa is neutral (the “dutching” process strips the acidity), so you MUST use baking powder with it to get a good rise. It still produces a beautiful, silky-smooth, and light crumb, but I find it’s often a bit tighter than the tender softness you get with the natural.
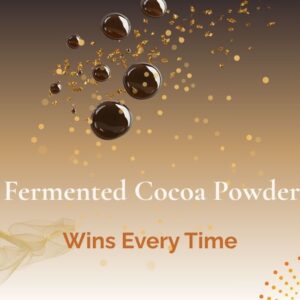
Why Fermented Cocoa is the BEST (It’s ALL About the Science, Baby!)
Listen, you want a chocolate muffin that’s not just “chocolatey” but deep, complex, and sinfully moist, right? Then you need the fermented stuff. It’s not just an ingredient; it’s a flavor architect.
Flavor and Aroma: An Explosive Difference
This is where the fermented cocoa absolutely shines. It’s a flavor powerhouse, packing over 700 aroma-active compounds compared to the natural stuff’s measly 250 or so.
The Tannin Takedown: Natural cocoa is loaded with polyphenols—we’re talking 6–8%! These aren’t your friends; they’re the culprits behind that unpleasant bitterness and mouth-drying astringency. Fermentation is basically a superhero that knocks these down to a polite 3–5%, giving your muffin a flavor that’s smooth and balanced, not bitter and chalky. I remember trying to mask that bitterness with extra sugar once—spoiler: it didn’t work.
The Maillard Magic:
Want that real chocolate smell? The kind that makes you want to live in your oven? That’s all thanks to the free amino acids and reducing sugars (glucose and fructose) that fermentation creates by breaking down sucrose. Natural cocoa has almost none of these key players! These compounds slam together in the oven in the Maillard reaction, creating delicious, complex flavors like nutty, caramel, and roasted chocolate. This also builds up pyrazines, which are the glorious little molecules that give that iconic, warm, coffee-like, nutty aroma that makes your kitchen smell like a professional bakery.
The Fruity Finale:
And don’t forget the secret weapons: aldehydes and esters. Fermented cocoa is rich in these, adding beautiful, subtle notes—think sweet, floral, and a little bit fruity and creamy. Natural cocoa? Trace amounts or none at all. It’s why one muffin tastes flat and the other tastes round and completely appealing. Even the moderate levels of acetic, lactic, and citric acids retained from fermentation are essential; they aren’t sour, they’re flavor intensifiers that balance the sweetness. Done!
Texture and Color: No More Dry Crumbs!
A perfect chocolate muffin isn’t just about taste; it has to be impossibly soft and moist. Natural cocoa often yields a dryer, almost powdery crumb. Why? Science!
The Moisture Makers: Fermentation generates high levels of long-chain polymers called melanoidins (also responsible for the color!). These little guys are fantastic at binding water and lipids (fats). What’s the result? A crumb that’s smoother and stays incredibly moist. It’s like an internal insurance policy against dryness. Plus, the reduction in those astringent polyphenols means no gritty mouthfeel.
The Color Depth: Speaking of melanoidins, they, along with the intense Maillard browning, deliver a deep, almost mahogany-brown color. It looks sophisticated! Compare that to natural cocoa, which gives you a pale, reddish-brown. I’d never put a “pale” muffin on my emergency cupcake shelf. NEVER!
Creamier Mouthfeel: Here’s a true baking nerd detail: fermentation even makes the cocoa butter distribution in the pressed cocoa mass more uniform. This translates to a smoother, creamier mouthfeel in your finished batter and crumb. It’s subtle, but you’ll notice it.
Forget the natural stuff—it’s just raw vegetable matter that hasn’t been allowed to reach its potential. Go fermented, or go home. You’ll thank me later!
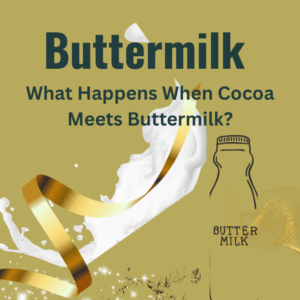
What Happens When Cocoa Meets Buttermilk
Do I have a strong opinion about what liquid goes into your chocolate muffins? You bet I do! It’s one of my biggest baking nerd soapbox moments, honestly.
Let me tell you why: when you’re choosing between just plain old milk or something gloriously acidic like buttermilk, yogurt, or sour cream, you’re not just swapping out a splash of liquid. NOT! You’re doing a whole flavor and chemistry overhaul.
Why Acidic Dairy is the Chocolate Muffin Magic Potion :
Here’s the deal: cocoa powder is acidic. Especially that rich, natural, fermented stuff that gives your muffins that deep, dark flavor. When you introduce a neutral liquid (like regular milk, which is around pH 6.5), you miss out on a massive opportunity.
But when I toss in a low pH friend (around pH 4.5 like buttermilk), everything good goes into overdrive.
The 5 Ways Acidic Dairy Always Wins
Flavor: Deep, Dark, and Balanced
Forget flat, one-note chocolate. Acidic dairy is the secret handshake with cocoa. The lactic acid in that yogurt or butter milk acts like a spotlight, making those bright, fruity, and volatile compounds in the chocolate POP. It doesn’t just deepen the rich cocoa flavor; it adds a sophisticated little tang that balances out the sweetness. You get a far more complex, multi-layered chocolate experience. I swear, it’s sinfully decadent.
Crumb Structure: The Pillow-Soft Perfection
You know those annoying tunnels or tough bits in some muffins? I hate those! Acid is your friend here. It helps strengthen the gluten bonds but keeps them short, soft, and delicate. The result? A tender, tight, and wonderfully even crumb. When I peek at a cross-section, I want to see a perfectly uniform texture—and acid delivers that every time.
Rise: The Perfect Dome
This is pure chemistry, and it’s awesome. Acidic dairy interacts with the baking soda in your recipe (or sometimes baking powder, but definitely soda). That perfect soda–acid balance creates a strong, early burst of CO2 , giving your muffin batter the ultimate lift. It guarantees that satisfyingly high, even, beautiful dome. Done!
Aroma: The Oven Smells
Better Honestly, part of the joy of baking is that incredible smell. Acidity literally unlocks the best aromatic aldehydes and esters in the cocoa. While baking, the aroma is cleaner and more intense. The moment I pull a batch out of the oven, I know that heady, concentrated cocoa scent is the result of that perfect dairy decision.
Mouthfeel: Rich, Creamy, and Moist :
This is the one that gets me. That mix of fat, acid, and casein (the protein in dairy) emulsifies better than just plain milk. It coats those cocoa particles evenly, leading to a truly luxurious, moist, and creamy mouthfeel. Every bite feels richer.
How Cornstarch Makes Cocoa Shine, Boosts Flavor, and Keeps Muffins Moist

Hold up, fellow baking fanatics! I’m about to drop a game-changing secret for making chocolate muffins that are so impossibly moist and tender, you’ll swear they came straight from a fancy-pants bakery. Seriously, I used to struggle with muffins that were just… well, a little too bready and tough. You know the ones: they have that weird chew, and you feel like you’re wrestling with the bite? I do. I know that feeling.
It’s completely understandable to just grab the all-purpose flour and think, “Done!” But I’m going to let you in on something I learned after a LOT of disappointing muffin batches. It all comes down to cornstarch. If you want a muffin that melts in your mouth and has that velvety-smooth crumb, you must replace a little bit of your flour with this magical white powder.
The Great Gluten Takedown
Here’s the deal, and this is where my inner Baking Nerd comes out. When you use only all-purpose flour, the gluten in the wheat starts building these long, rubber-bandy strands in your batter. They’re strong, they’re elastic, and they trap gas bubbles like a champ. That’s great for bread, but for a delicate, sinfully decadent chocolate muffin? NOT so much. You end up with a coarser, chewier crumb. It’s just too tough!
But when you sneak in the cornstarch, it’s like dropping tiny speed bumps onto the gluten highway! The little cornstarch granules interrupt that continuous network. Your batter becomes less like an elastic dough and more like a viscous foam. When those starches hit the heat in the oven, they gelatinize—they grab and lock onto water aggressively—and that changes everything.
- Your crumb ends up short and incredibly tender, just like a perfect cake.
- The cell walls are smoother.
- The toughness is gone. Less “bready,” more “melting.” It’s a dream!
The Moisture Lock Secret
I’ve always chased that perfect, magically soft and moist texture. The kind that makes you close your eyes when you take the first bite. Cornstarch is the secret weapon here because it absorbs water more intensely than wheat starch does when it gelatinizes.
You know what that yields?
- A moister mouthfeel that hits you immediately.
- Slower staling! Yes, you can enjoy these glorious muffins for longer because that cornstarch holds onto the water tightly.
- A silky texture, not a cotton-wool-fluffy one.
It’s the reason your muffins feel lighter but never dry. I’d describe it as moist fluff versus an airy sponge. Give me the fluff every single time!
Flavor Burst and Zero Chew
Honestly, after trying this technique, I couldn’t go back. The change in mouthfeel alone is enough to convince you. You get a short, velvety crumb that just breaks clean on your tongue. Zero gluten pull. You’ll experience a melt-on-tongue sensation that is just… chef’s kiss.
Plus, you know what else happens?
Because you’ve taken down the tough gluten, you enhance your sweetness perception, and you eliminate any of that mild, boring wheat aftertaste. The cornstarch lets your chocolate and vanilla flavors truly shine. It’s critical for patisserie-level baking, and your muffins deserve the VIP treatment!
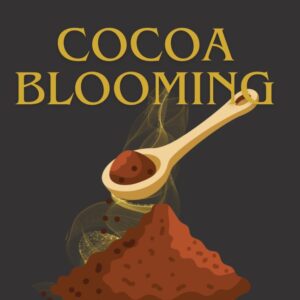
COCOA BLOOMING
Ugh, I hate to break it to you,” I find myself saying sometimes, “but you GOTTA do this step.” It’s just non-negotiable for killer chocolate flavor, you know? Like, I’m talking about that deep, oomph chocolate that makes people close their eyes when they take a bite. That’s the dream!
So, you’ve got your cocoa powder, right? And you’ve got your hot fat—butter or oil, it doesn’t matter which you’ve picked, but it needs to be hot. I’m talking “just-melted-and-a-tiny-bit-beyond” hot, about 60−70°C (140−158°F). Now, my little Baking Nerd secret, the one that makes everyone ask, “What is that chocolate flavor?!”, is to whisk that cocoa powder right into that hot fat.
It’s called blooming, and trust me, it’s a game-changer. It’s like releasing all the happy, chocolatey smells gently and tucking them into a cozy, fatty blanket so they don’t escape later. It makes the flavor deeper, richer, and just… more.
(Don’t Judge Me!)
I’ve learned this the hard way! I remember once, I was rushing to make a batch of my ’emergency chocolate muffins’ (yes, I have emergency recipes—you never know when you’ll need one!), and I skipped the bloom. I mean, what’s a quick shortcut, right? WRONG! The muffins were fine, but they weren’t WOW. They tasted… flat. I was so disappointed in myself. It was the moment I realized that this little 60°C whisper of heat is crucial. You want that deep, dark flavor, you gotta bloom it!
A Quick Safety Note: Don’t Scramble Your Eggs!
But here’s the thing, the important bit: you cannot dump that hot, bloomed, chocolate-fat mixture straight into your main batter! Think about it: you’ve got eggs in there. You’ll literally start to cook them, and nobody wants chunky, sad, cooked eggs in their gorgeous muffin batter. So, give it a quick minute to cool down slightly before you mix it in. Done! You’ve just unlocked BEST-EVER chocolate flavor. You’re welcome.
Simple Moist Chocolate Muffin Recipe with Cocoa Powder
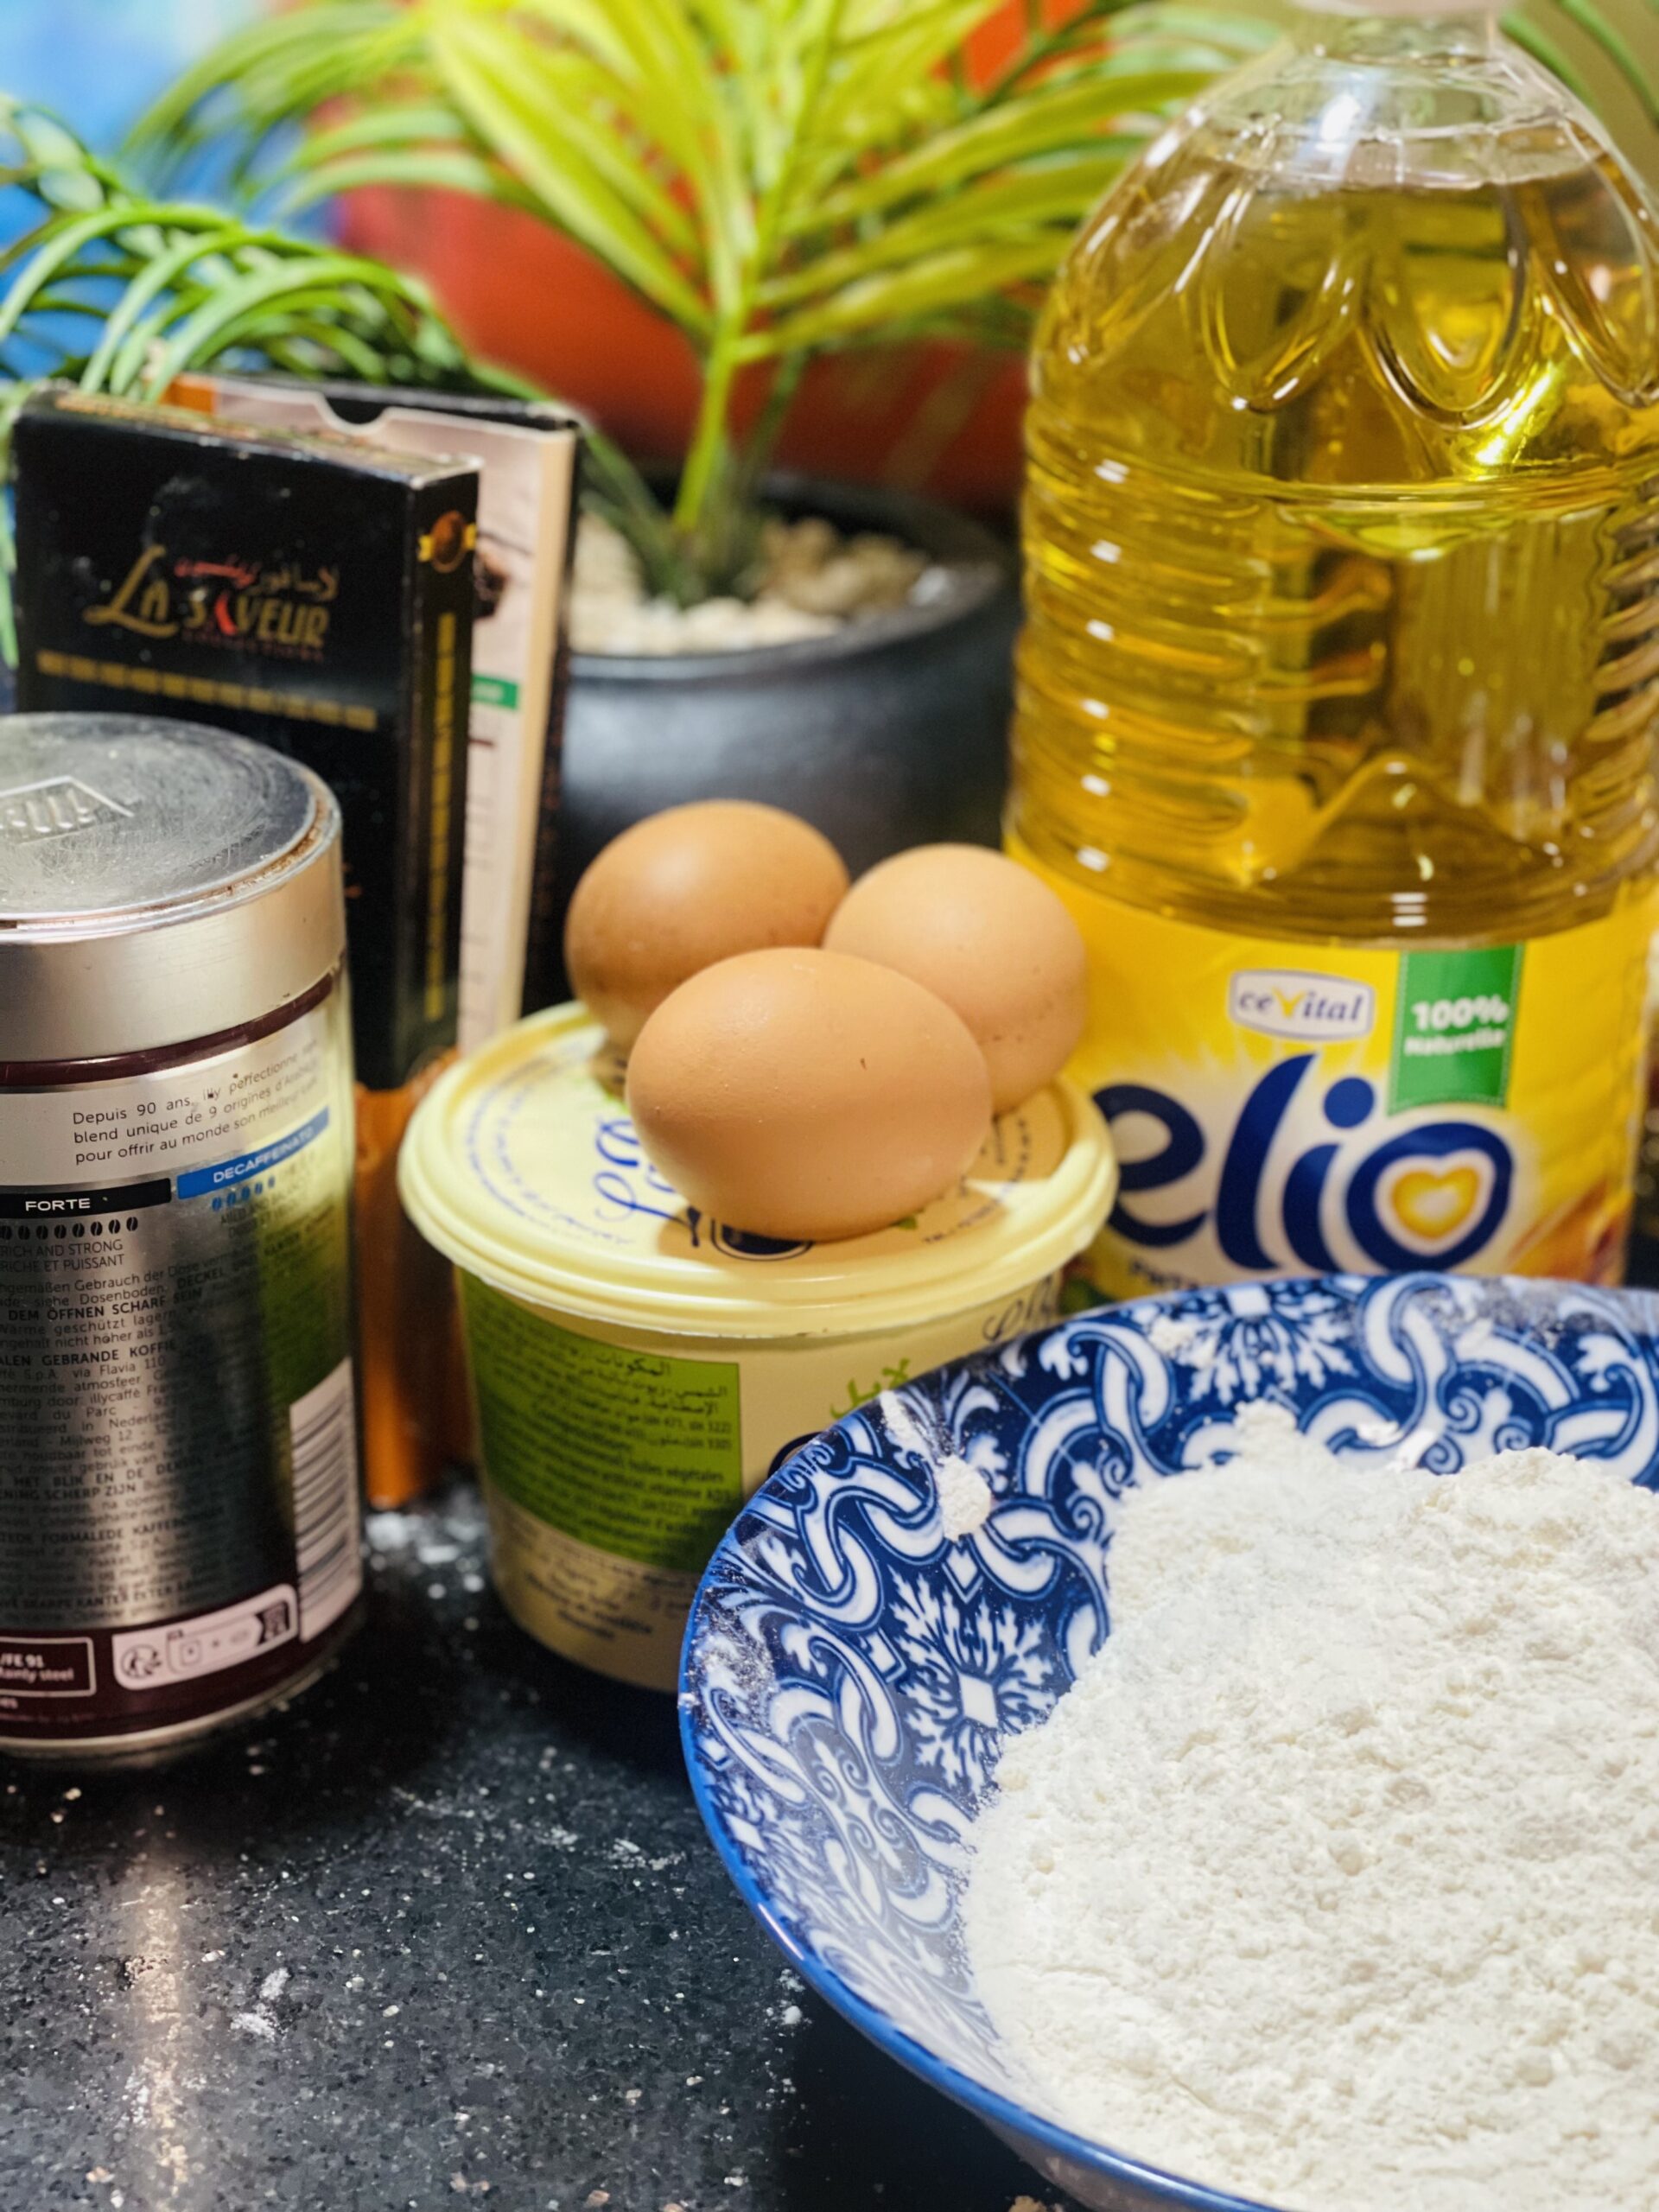
Ingredients
Method
- Get your oven preheated to a blistering 425℉ (220℃) Yes, you read that right. I know it seems high, but stick with me! Line that 12-cup muffin tin with your favorite paper liners.
- Bloom the Cocoa: The MUST-DO Step! This is where we awaken the cocoa powder and make it sing. Grab a medium bowl and whisk your cocoa powder with the hot water until it forms this wonderfully dark, smooth paste. See how deep that color is? That's the chocolate flavor we're locking in! Now, let it hang out for about 5-10 minutes. You don't want to accidentally cook your eggs later, which, by the way, I've done. It was NOT pretty. Lesson learned, folks.
- Dry Ingredients Dance: In a large bowl, it's time for the sift party. Sift together the flour, cornstarch (the other secret to tenderness!), baking powder, baking soda, and salt. The sifting is non-negotiable if you want a pillowy-soft crumb. Then, here's my little hack: stir in the brown sugar now. Why? It helps it get evenly distributed and adds an extra layer of moisture that white sugar just can't touch.
- Bringing it All Together (But DON'T Overmix!)This is the most critical stage. You've got to be gentle.Wet Ingredients: In a separate bowl, whisk up those eggs, oil, buttermilk, and vanilla. Get them nice and smooth. Now, pour in your cooled, gorgeous, bloomed cocoa mixture. Stir it in until it's perfectly incorporated—it'll be a beautiful, dark liquid.
- The Gentle Fold: Pour the wet ingredients right into the dry. Now, put the whisk down. I mean it! Pick up a spatula and stir GENTLY. I'm talking 10-12 strokes MAX. You want to stop as soon as the last streaks of flour disappear. The batter will be thick, lumpy, and pourable. And that's PERFECT. I once got distracted by a phone call and kept stirring… the result? Rubber pucks that were practically inedible. Overmixing activates the gluten, and you'll end up with a rubbery texture. We want melt-in-your-mouth!
- The Bake: High-Low MagicFill 'Em Up: Divide that glorious batter evenly among your muffin cups. Fill them nearly to the top—we want tall, proud cupcakes!
- The Temperature Trick: Pop that tin into the 425℉ oven and let them bake for exactly 8 minutes. That initial high heat causes a massive oven spring, creating a beautifully tall dome and locking in moisture.
- Cool Down: Now, and this is crucial, DO NOT OPEN THE DOOR! Reduce the temperature down to 350℉ (175℃)and let them bake for another 10-12 minutes. They're done when a toothpick comes out with just a few moist crumbs.

- Finish Strong: Let them cool in the tin for 5 minutes—that steam is still working its magic!—then move them to a wire rack. They are silkiest when served slightly warm, but I promise they are fantastic at any temperature.

Leave a Reply